Free Film grain and fade Photo Effect
Warm a photograph, add deterministic grain, and lift the shadows for a faded film-inspired finish.
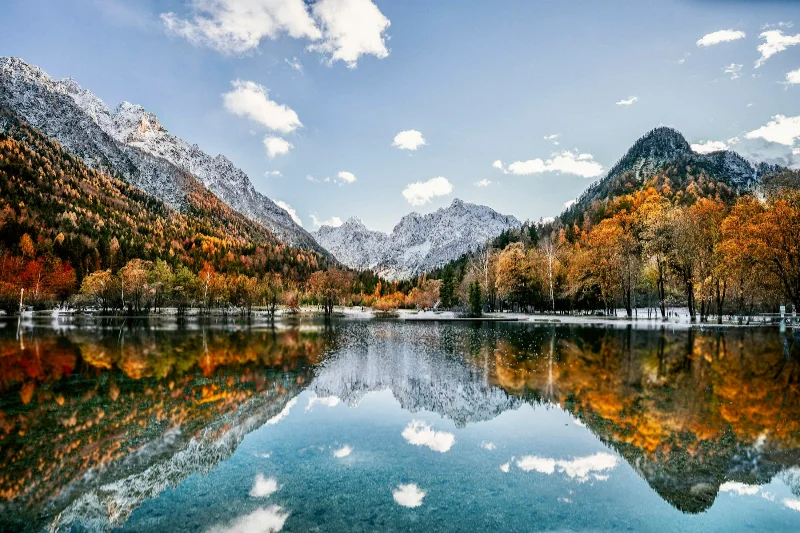
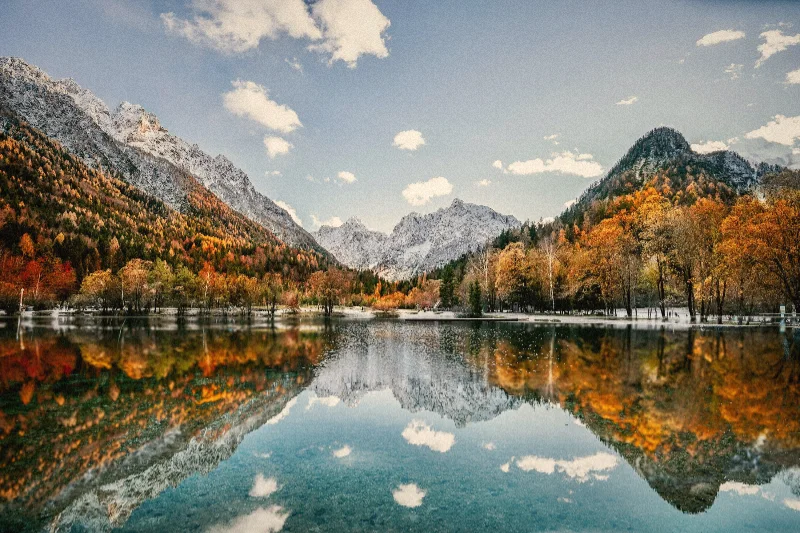
Examples use the bundled photograph by Michal Janek. Photo credit and license. Open your own image above to edit it locally.
How to apply Film grain and fade
- Open your photo in the editor above. Film grain and fade is already selected, and the sample is ready to try.
- Adjust Warmth, Grain, Fade in the Effect tab. You can drag sliders or type validated numbers directly.
- Hold Original or Space to compare. Add a crop or frame if needed, then choose Export to download the finished image.
Getting the look
Balance Warmth and Fade before adding Grain. A little grain can join smooth color areas together; a high value creates an intentionally rougher, more obvious texture.
Film grain and fade controls
- Warmth
- 0–100%. Starting setting: 45%.
- Grain
- 0–100%. Starting setting: 32%.
- Fade
- 0–100%. Starting setting: 35%.
Reset effect settings restores these defaults. Save a preset to reuse your own effect and frame combination on another image.
Files and export
Open a PNG, JPEG, or WebP with the file picker, drag-and-drop, or clipboard paste. All image processing happens on your device. Choose PNG or WebP to preserve transparency, or JPEG to flatten it onto a color. Exports use the original image resolution plus the frame unless you choose a smaller size.
A modern browser with WebGL2 is required. Browser and GPU limits can prevent very large exports; picshader explains the limit and offers a smaller size. No account or watermark is required.