Free Crosshatching Photo Effect
Shade a photograph with intersecting lines that become denser in darker regions.
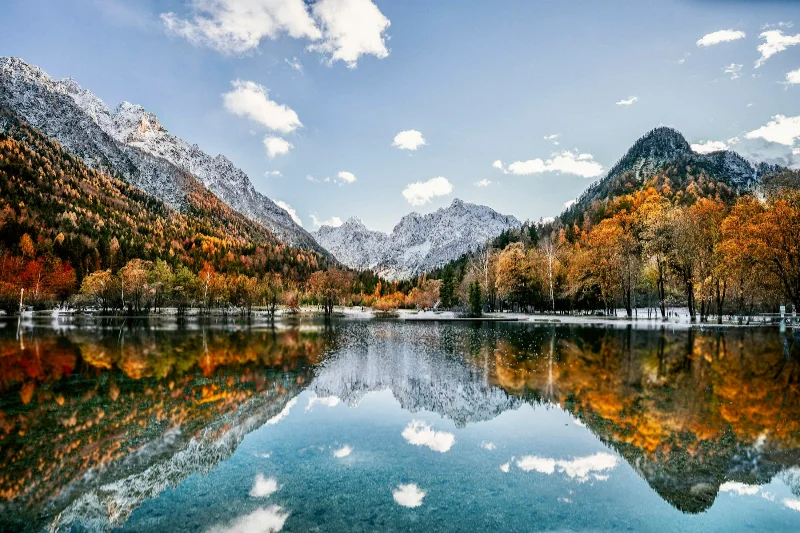
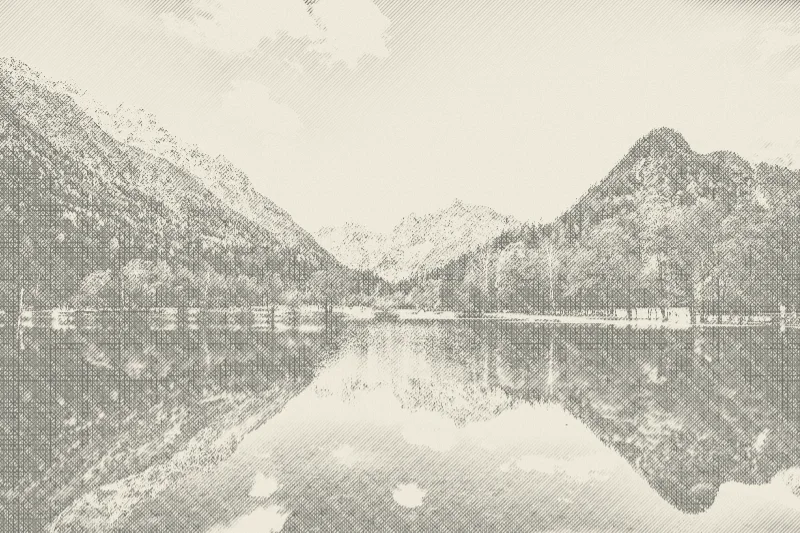
Examples use the bundled photograph by Michal Janek. Photo credit and license. Open your own image above to edit it locally.
How to apply Crosshatching
- Open your photo in the editor above. Crosshatching is already selected, and the sample is ready to try.
- Adjust Ink, Scale, Colors in the Effect tab. You can drag sliders or type validated numbers directly.
- Hold Original or Space to compare. Add a crop or frame if needed, then choose Export to download the finished image.
Getting the look
Lower Scale produces finer hatching. Adjust Ink to retain highlights on faces or pale objects; detailed source images work best when the final output is viewed at a generous size.
Crosshatching controls
- Ink
- 0–100%. Starting setting: 65%.
- Scale
- 3–15. Starting setting: 7.
- Colors
- Burnt peach · Ocean blue · Forest · Plum · Monochrome. Starting setting: Monochrome.
Reset effect settings restores these defaults. Save a preset to reuse your own effect and frame combination on another image.
Files and export
Open a PNG, JPEG, or WebP with the file picker, drag-and-drop, or clipboard paste. All image processing happens on your device. Choose PNG or WebP to preserve transparency, or JPEG to flatten it onto a color. Exports use the original image resolution plus the frame unless you choose a smaller size.
A modern browser with WebGL2 is required. Browser and GPU limits can prevent very large exports; picshader explains the limit and offers a smaller size. No account or watermark is required.